A Quick Intro to the cPanel Interface
Once you’ve logged in, you should see a screen similar to this:
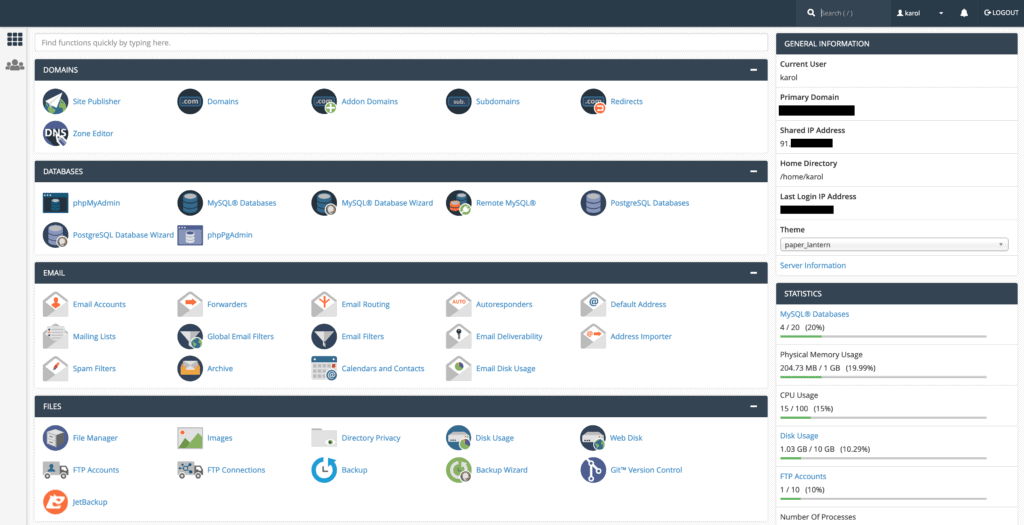
This is the version of cPanel that uses a theme called “Paper Lantern”.
My cPanel Interface Looks Different! Now What?
First, don’t panic.
To change the style of your cPanel, find the “PREFERENCES” section (it’s usually near the bottom) and click on “Change Style”:
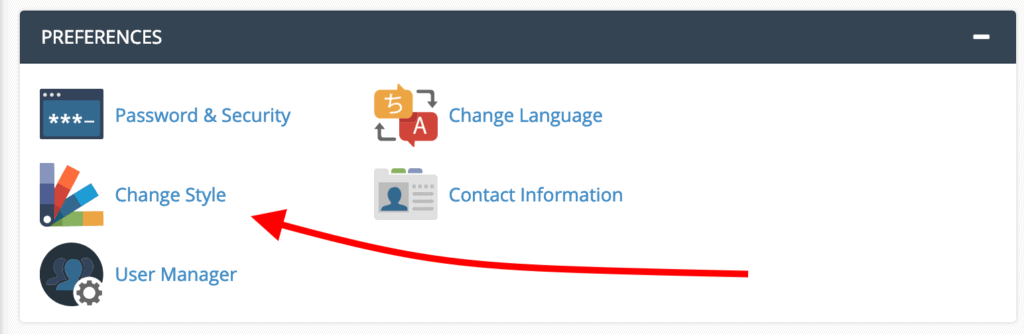
You’ll have a few choices there based on what your host makes available. In our case, the selection comprises of the Basic, Dark, Light, and Retro styles.
To work on the same theme we’re working on, choose “Basic” by clicking the “Apply” button in the top right corner next to the style. cPanel will reload with the new style applied.
2.2. Getting Around the cPanel Interface
Getting around the cPanel interface consists of many options.
Let’s first start with:
Navigation Bar
You can find the navigation bar in the top right corner of the screen. In it, there’s a simple search field, a link to your user preferences, a notifications bell, and the logout link.

The search field allows you to find the key options within cPanel. Actually, using the search field is a much quicker way to navigate around cPanel than trying to browse around and get to a certain option manually. The search field starts presenting you with results immediately as you type.
By clicking on the user preferences link, you can change your password, language, edit your contact information, and you can also reset the page settings with one click.
The notifications bell is just what it sounds – a place where you can see essential updates about your hosting setup or cPanel itself. Usually, cPanel uses notifications to let you know about news, critical updates, security concerns, or other must-know information.
The logout link is pretty self-explanatory – remember to use it every time you’ve finished working with cPanel.
Search Bar
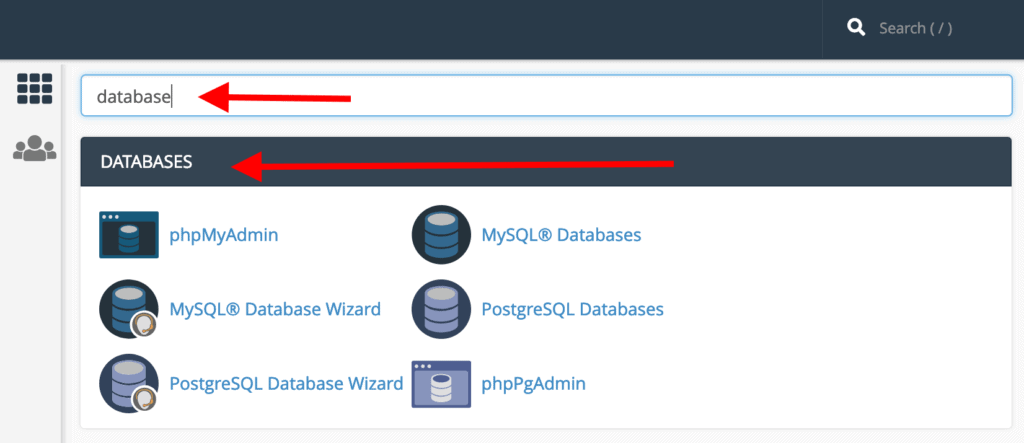
One additional search field – apart from the one in the navigation bar – is visible at the very top of the page right below the navigation bar.
This one works pretty similarly, but this time, instead of showing you results inside a drop-down, it’s going to filter out the center part of cPanel. Just punch in what you’re after, and cPanel will dig it up for you.
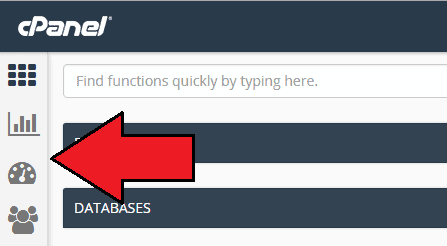
Sidebar
On the left side of your screen, you’ll see a sidebar with a couple of icons – the exact number depends on what your host makes available for you. In our case, from the top down, these stand for Home, Statistics, Dashboard, and User Management.
Home is the primary page of cPanel where you can access most of the functions.
Statistics show you a range of important numbers – how many email accounts, file transfer protocol (FTP) accounts, and domain names you have, as well as how much bandwidth and disk space you’re using.
The dashboard is a quick reference page where you’ll find links to some of the most commonly used links, as well as at-a-glance look at your bandwidth and disk space usage, mail statistics, and more.
User Management is where you can add or remove users from your cPanel account. You can also see which email accounts you’ve set up, as well as who has access to your FTP and web disk in case you’re sharing an account with other users or admins.
2.3. Reorganizing cPanel’s Homepage
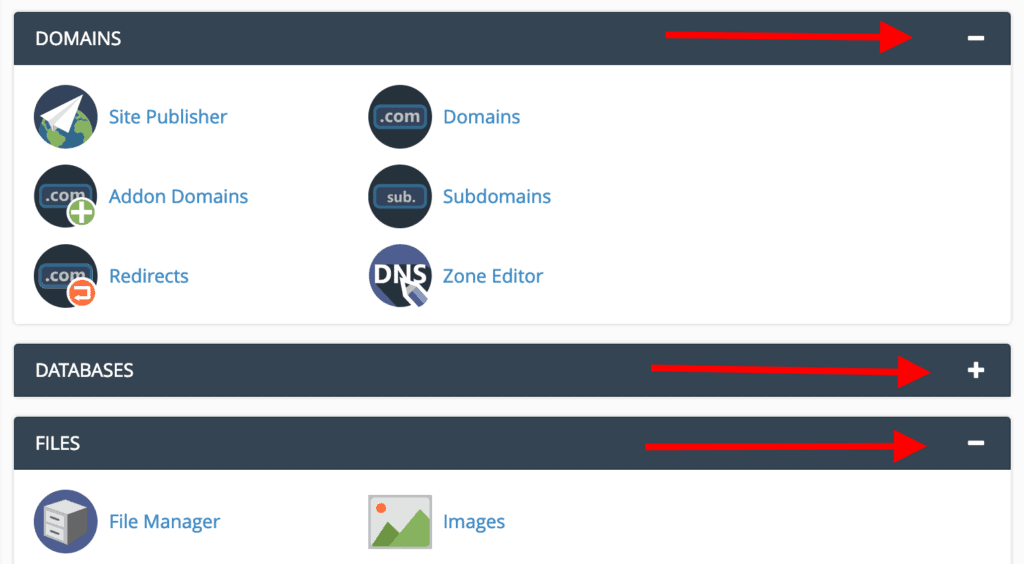
You can collapse sections by clicking on the “-” sign in the top right corner of each homepage section to minimize it.
If you like to, you can also drag and drop entire sections to reorganize them and put the most commonly used ones near the top.


